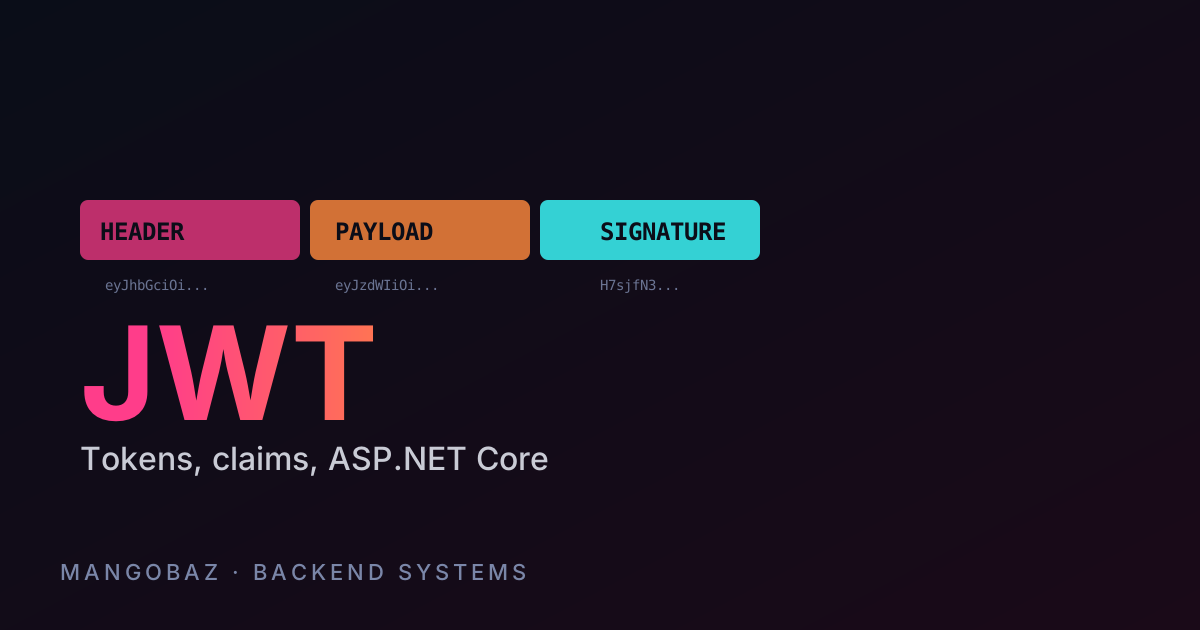
JWT (JSON Web Token) is the dominant way to authenticate users in modern web APIs. It is stateless, portable across services, and works well for SPAs, mobile apps, and server-to-server communication. This article walks you through JWT authentication in ASP.NET Core 8 step by step — from the theory of how tokens work, to a working /login endpoint, to validating tokens on every protected request.
What is a JWT, really?
A JWT is a long string with three dot-separated parts: header, payload, signature. Each part is base64url-encoded JSON. The header declares the algorithm. The payload contains the claims — pieces of information about the user (id, email, roles, expiration). The signature is a hash of the header and payload, signed with a secret key.
A JWT looks like this:
eyJhbGciOiJIUzI1NiIsInR5cCI6IkpXVCJ9.eyJzdWIiOiIxMjM0NTY3ODkwIiwibmFtZSI6Ik1hbmdvIn0.SflKxwRJSMeKKF2QT4fwpMeJf36POk6yJV_adQssw5c
The crucial property: the server can verify the signature without any database lookup. That is what makes JWTs stateless. The trade-off: you cannot revoke a JWT before it expires (without using a blocklist, which defeats the point somewhat).
JWT versus session cookies
The old way: log in, server creates a session, server sends the client a cookie containing the session ID. On every request, the client sends the cookie back, the server looks up the session, and decides who you are. This is how web apps have worked since 1995.
The JWT way: log in, server creates a signed token, server sends the token to the client. The client stores it (in memory, in localStorage, in a secure cookie). On every request, the client sends the token (usually in an Authorization: Bearer ... header). The server verifies the signature, reads the claims, and decides who you are. No server-side storage required.
JWTs shine when you have multiple services that all need to know who the user is (microservices, SPAs talking to a separate API). Session cookies shine when you have one server and you want easy logout. Pick JWT for distributed systems, cookies for monoliths.
Setting up the project
Create a new ASP.NET Core 8 web API project:
dotnet new webapi -n AuthApp
cd AuthApp
dotnet add package Microsoft.AspNetCore.Authentication.JwtBearer
The JwtBearer package handles token validation for us. Add it to the authentication pipeline in Program.cs:
using Microsoft.AspNetCore.Authentication.JwtBearer;
using Microsoft.IdentityModel.Tokens;
using System.Text;

var builder = WebApplication.CreateBuilder(args);
var key = Encoding.UTF8.GetBytes(builder.Configuration["Jwt:Key"]!);

builder.Services.AddAuthentication(JwtBearerDefaults.AuthenticationScheme)
  .AddJwtBearer(o =>
  {
    o.TokenValidationParameters = new TokenValidationParameters
    {
      ValidateIssuer = true,
      ValidateAudience = true,
      ValidateLifetime = true,
      ValidateIssuerSigningKey = true,
      ValidIssuer = builder.Configuration["Jwt:Issuer"],
      ValidAudience = builder.Configuration["Jwt:Audience"],
      IssuerSigningKey = new SymmetricSecurityKey(key)
    };
  });

builder.Services.AddAuthorization();
var app = builder.Build();

app.UseAuthentication();
app.UseAuthorization();
app.MapControllers();
app.Run();
The symmetric key is a shared secret between the issuer and the validator. In production, store it in an environment variable or a secrets manager, never in source control.
Generating a token at login
Add a minimal API for login. Replace your users table with a real database in production; for this example we hard-code one user:
app.MapPost("/login", (LoginRequest req) =>
{
  if (req.Email != "demo@example.com" || req.Password != "password")
    return Results.Unauthorized();

  var claims = new[]
  {
    new System.Security.Claims.Claim("sub", "1"),
    new System.Security.Claims.Claim("email", req.Email)
  };

  var key = new SymmetricSecurityKey(
    Encoding.UTF8.GetBytes(builder.Configuration["Jwt:Key"]!));
  var creds = new SigningCredentials(key, SecurityAlgorithms.HmacSha256);
  var token = new JwtSecurityToken(
    issuer: builder.Configuration["Jwt:Issuer"],
    audience: builder.Configuration["Jwt:Audience"],
    claims: claims,
    expires: DateTime.UtcNow.AddHours(1),
    signingCredentials: creds);

  return Results.Ok(new
  {
    token = new JwtSecurityTokenHandler().WriteToken(token)
  });
});

record LoginRequest(string Email, string Password);
That endpoint accepts email and password, validates them, builds a JWT, and returns it. The client stores the token and sends it on subsequent requests.
Protecting endpoints
Add [Authorize] to any controller or minimal API that requires authentication:
app.MapGet("/me", (HttpContext ctx) =>
{
  var email = ctx.User.FindFirst("email")?.Value;
  return Results.Ok(new { email });
}).RequireAuthorization();
If the client sends no token or an invalid token, the framework returns 401 automatically. If the token is valid, the handler runs and you can read claims from HttpContext.User.
Refresh tokens (the missing piece)
JWTs are short-lived (an hour, a day) on purpose. But you do not want to force the user to log in every hour. The standard solution: pair the access token with a long-lived refresh token.
The flow:
- Login returns an access token (short-lived) and a refresh token (long-lived, opaque).
- Client uses the access token for API calls.
- When the access token expires, the client sends the refresh token to
/refresh. - Server validates the refresh token, issues a new access token, returns it.
Store refresh tokens server-side (in a database) so you can revoke them. The client never gets to forge a new access token; only the server can sign one.
Where to store the token on the client
This is where most JWT tutorials hand-wave. The answer depends on your app.
- localStorage — simple, but accessible to any JavaScript on the page. Vulnerable to XSS.
- Session storage — same as localStorage but cleared on tab close. Slightly safer.
- In-memory only — safest. Lost on refresh, but you can re-acquire via a silent refresh.
- HttpOnly cookie — safe from XSS but vulnerable to CSRF (use SameSite cookies and CSRF tokens).
For a SPA, the safest pattern is an in-memory access token plus an HttpOnly cookie for the refresh token. For a server-rendered app, HttpOnly cookies all the way down.
Common pitfalls
- Storing the signing key in source code. Always use configuration or a secrets manager. A leaked signing key lets attackers forge tokens for any user.
- Not validating all the things.
ValidateIssuer,ValidateAudience,ValidateLifetime,ValidateIssuerSigningKey— all four. Disabling one is a security hole. - Putting sensitive data in claims. JWTs are signed, not encrypted. Anyone can decode the payload. Never put passwords, credit cards, or PII in claims.
- Long-lived tokens. An hour is reasonable. A week is asking for trouble. If you must have long sessions, use refresh tokens properly.
- No token rotation on login. When a user logs in, generate a fresh token. Do not reuse tokens across sessions.
Custom claims and policy-based authorisation
The default [Authorize] attribute only checks that the user is authenticated. For finer-grained checks, you can write a custom authorisation policy:
builder.Services.AddAuthorization(o =>
{
  o.AddPolicy("AdminOnly", policy =>
    policy.RequireClaim("role", "admin"));
  o.AddPolicy("Over18", policy =>
    policy.RequireAssertion(ctx =>
      DateTime.Parse(ctx.User.FindFirst("dob")?.Value ?? "")
        < DateTime.UtcNow.AddYears(-18)));
});
Then use the policy on the endpoint:
app.MapDelete("/users/{id}", (int id) => { /* ... */ })
  .RequireAuthorization("AdminOnly");
Policy-based authorisation lets you encapsulate complex rules in one place, with full unit-test coverage. For most apps, you will end up with a small library of named policies ("AdminOnly", "CanEditArticles", "Verified") that you compose ac
Further reading
JWT is one of the most over-implemented standards in web development. For the format itself we trust IETF; for the security pitfalls we trust OWASP; for practical integration patterns we trust Auth0’s engineering blog.
- IETF RFC 7519 — JSON Web Token (JWT) — the IETF standard that defines JWT, including the three-part structure, the registered claim names, and validation rules.
- OWASP JWT cheatsheet — OWASP’s practical guide to the common JWT attacks (alg=none, weak HMAC, missing issuer/audience checks) and how to defend against them.
- Auth0 JWT documentation — Auth0’s developer-friendly explanation of JWTs, including access vs. ID tokens, signing algorithms, and token lifecycle.
Testing JWT-protected APIs
The most common bug in JWT setups is the silent misconfiguration: a token signs but does not validate. Always test the round-trip:
- Hit your
/loginendpoint, capture the token. - Hit a protected endpoint with the token in an
Authorization: Bearer ...header. Expect 200. - Hit the same endpoint without the token. Expect 401.
- Hit the same endpoint with a token whose signature is wrong (change one character). Expect 401.
- Hit the same endpoint with an expired token. Expect 401.
Automated tests for each of these scenarios catch the majority of JWT bugs in CI. Combine with curl scripts or Postman collections for manual verification.
If your refresh tokens are stored hashed in the database (and they should be), make sure the lookup uses an indexed column — refresh endpoints are hit on every expired access token.
If you are using ASP.NET Core Identity, most of this is wrapped for you — but it is still worth understanding what is happening underneath.
FAQ
What is the difference between JWT and OAuth 2.0?
JWT is a token format. OAuth 2.0 is a protocol for issuing tokens (and other things). You can use JWTs with or without OAuth. We have a separate OAuth 2.0 article that explains the protocol in plain English.
How long should a JWT live?
15 minutes to an hour for access tokens. Days to weeks for refresh tokens, stored server-side so you can revoke them.
Can I revoke a JWT?
Not without extra infrastructure. Options: a short expiry plus refresh tokens, a server-side blocklist of revoked token IDs, or rotating signing keys. For most apps, short expiry plus refresh is enough.
How do I include roles or permissions in a JWT?
Add them as claims when you create the token. Then check them with [Authorize(Roles = "Admin")] or in policy-based authorisation. Claims-based authorisation scales further than role checks for fine-grained permissions.
Should I use JWT or sessions for a single-server app?
Sessions. Simpler, easier to revoke, no signing key to manage. JWT earns its complexity when you have multiple services or statelessness matters.
What is the difference between HS256 and RS256?
HS256 uses a shared symmetric secret. RS256 uses an asymmetric key pair (private key signs, public key verifies). RS256 is better when the issuer and verifier are different services. HS256 is simpler when they are the same service.
What is the difference between JWT and opaque tokens?
JWT is self-contained — the verifier can read the claims without a database lookup. Opaque tokens are random strings; the server must look them up to find out anything. JWTs are faster to verify, opaque tokens are easier to revoke.
How do I rotate the signing key?
Generate a new key, sign new tokens with it, but keep validating with the old key for a grace period. ASP.NET Core supports IssuerSigningKeySet or you can chain two IssuerSigningKey entries. Once you are sure all old tokens have expired, remove the old key.
Test every step before moving to the next.
Build each step incrementally and test along the way.
Homework
Build a complete JWT auth flow:
- A
/registerendpoint that hashes a password and saves the user (usepassword_hashor ASP.NET Core Identity). - A
/loginendpoint that returns an access token and a refresh token. - A
/refreshendpoint that validates the refresh token and issues a new access token. - A
/meendpoint protected withRequireAuthorization()that returns the user's claims. - A logout endpoint that invalidates the refresh token server-side.
Test the flow with curl or Postman: log in, capture the access token, hit /me, wait for it to expire, hit /refresh, hit /me again. When the whole loop works end-to-end, you have the auth foundation for any production API. See our Razor Pages article for the surrounding ASP.NET Core context.